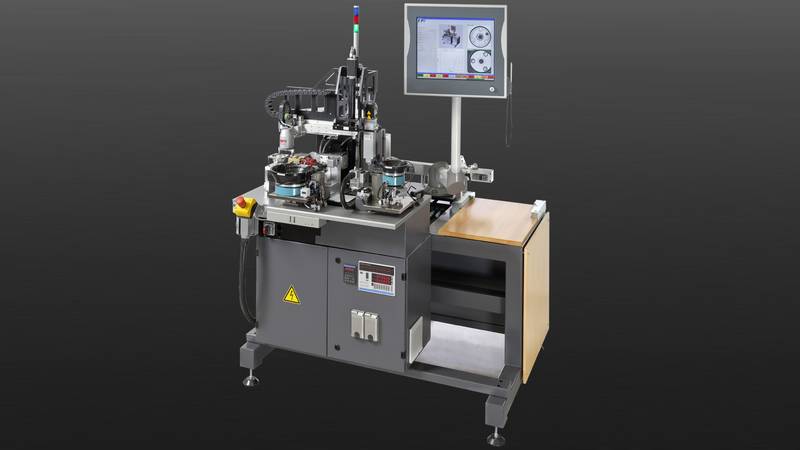
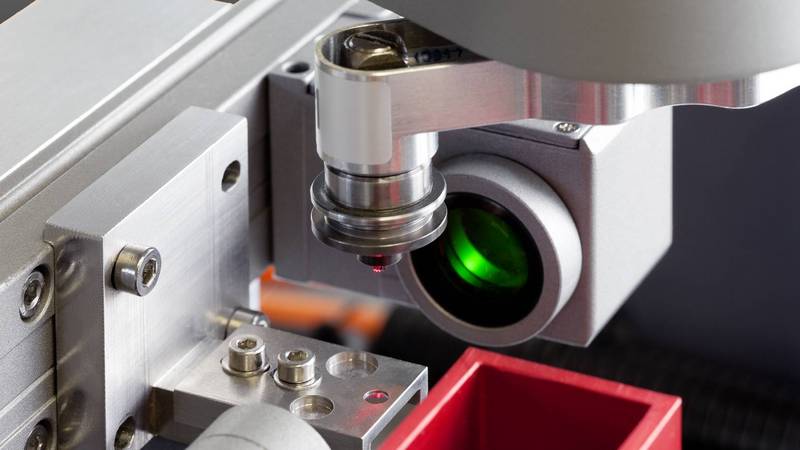
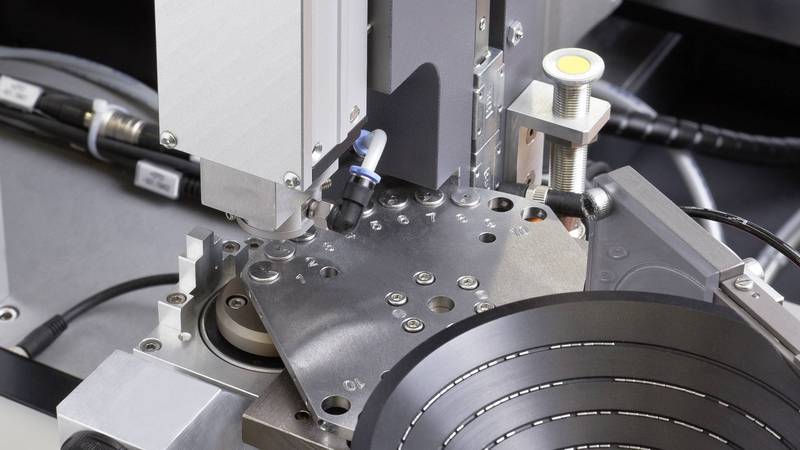
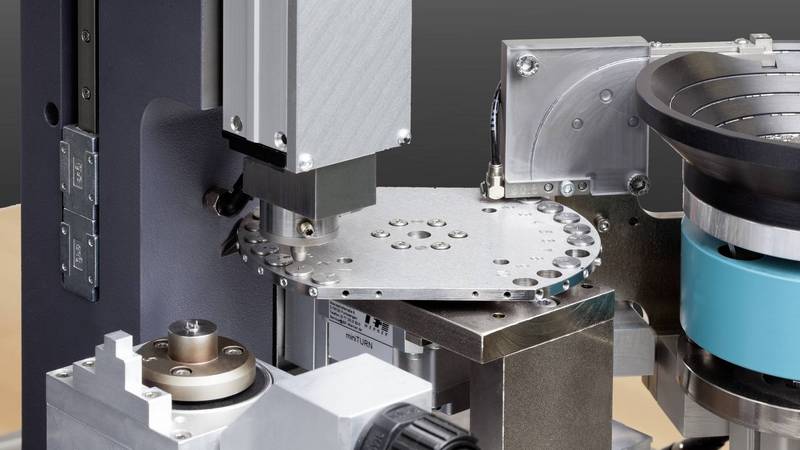
For assembly of different micro-shafts, a double rotaryARM - a swivel arm module for quick pick and place tasks - with one suction gripper each is used. In a first work step, one of the suction grippers removes a high-precision shaft from the first screw conveyor pot. It takes this to the measuring station, where sensors measure the diameter and height of the step at the component. If the dimensions are not accurate, they are put in a pot labelled "rejects" or "rework". If the dimensions are within the tolerance, the gripper moves to the first image processing "position recognition" with the high-precision shaft, detects the rotating position there and puts the high-precision shaft in a workpiece receptacle that moves under the press on an X-axis in a defined position. There, a rotary table is ready. It is equipped with pins from another screw conveyor pot. The high-precision shaft is placed under the rotary table and pressured with three pins in sequence. The results are displayed on the screen based on a force-path curve. The workpiece carrier moves back to its home position on the X-axis with the pressed-in component. The first suction gripper removes it and moves to the second image processing with it, which checks the bores for chips. Depending on the result, the system sorts the complete components into "OK" or "Rework".


